Appropriate maintenance of your lawn is required to allow the grass and the plants to grow healthy.
You are wondering how to develop a lush green lawn?
Let us learn a linchpin method through this article – Scarification.
Table of Contents
- What is Scarification?
- Right Time to Scarify the Lawn
- Prepare Your Lawn For Scarification
- Step By Step process of Scarification
- Benefits of Scarification
What is Scarification?
It is a process by which you remove the thatch from the lawn. Ideally, you are removing the excessive dry grass which had grown over the year through mechanical methods. Scarification is also known as Dethatching or Power Raking.
Thatch
The side shoots of the grass, which makes the lawn look dense and green, dry out in due course. This is the phenomenon used by the grass itself to give way to new shoots.
The dried grass decomposes and produces a chemical called ‘Lignin’. This is the culprit, which does allow the grass to rot. The undecomposed and dried grass intertwine with the new shoots creating a composite. This composite is called thatch.
Materials Used to Scarify the Lawn
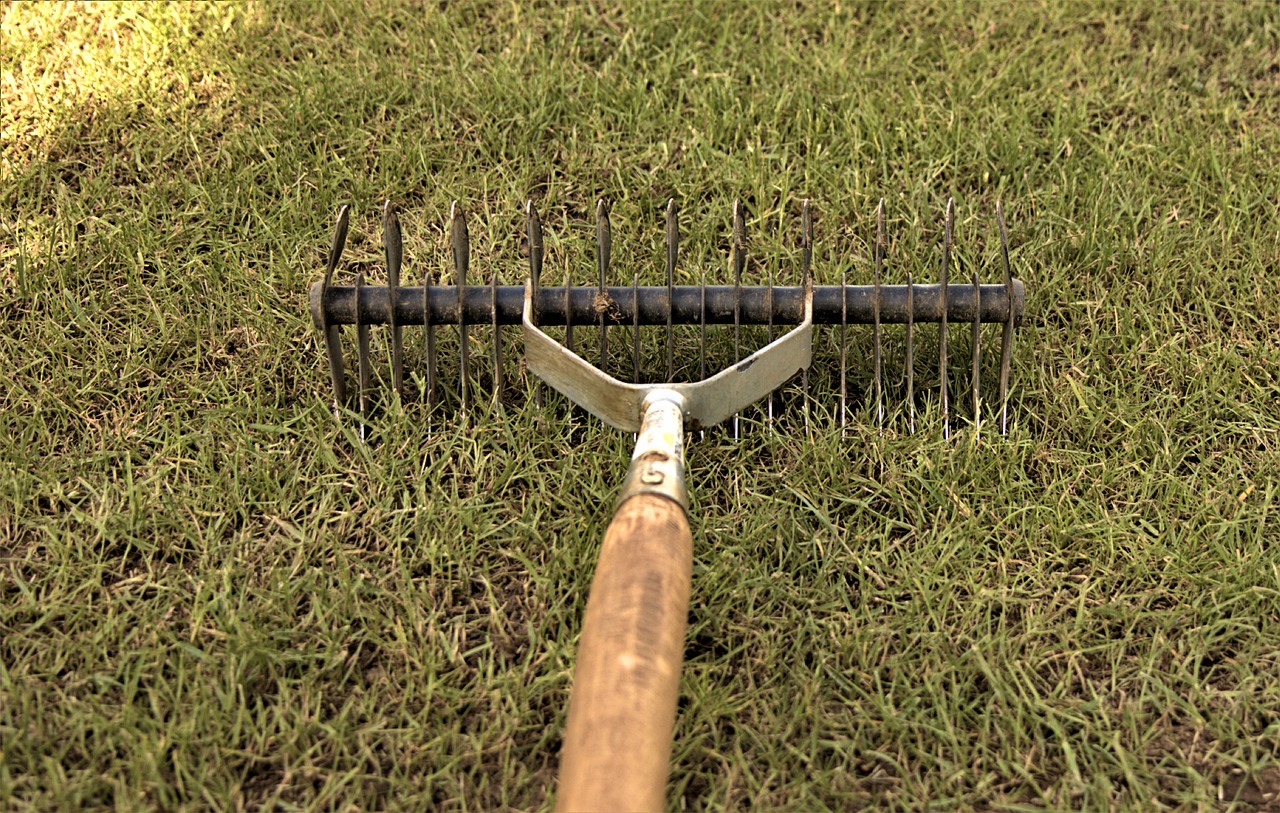
Of course, it is the Lawn scarifier that one would prefer using for this task. But, the size of the lawn and the other materials used to scarify a lawn comfortably is best to be known in advance.
1. Pedestrian Lawn Scarifier – Manual or Powered
2. Rake
3. Grass Blower
If your lawn is smaller, you can opt for the manual scarifier against the powered one. It is tiring, though. But, at the same time, the effectiveness of scarification is guaranteed with powered machines.
Moreover, if your lawn is large, you may have to use an Engine Powered Scarifier and go on a lawn ride.
Fact: Not all lawns require Scarifying. Thatches are less in the yard that has ryegrass in it.
– Also Read –
Simple Ways to Repot Succulents ( Easy Beginner Guide )
Repotting the succulents can be a daunting task for even experienced gardeners. However, the succulents are just perfect for growing … Read more
Right Time to Scarify the Lawn
You may have to scarify or rake the lawn once a year, and that is enough.
The thumb rule about scarification is, ‘Allow the Grass to Grow’ before you scarify.
A lot of times, people scarify the lawn at the wrong periods and make the yard worse. Let us understand this logic. Grass needs sunlight, rain and warmth. If the grass has not grown well before you scarify, it will certainly not increase after the process.
There are two times in the year that you can schedule the scarification process. Either you do it in the Spring or the Autumn. So that means to say, if you skip April, then it would be September and October.
No other time of the year is good for raking or scarifying. If you are doing it, then you are harming the grass and not helping it grow healthy.
Light Scarifying
If your lawn has thatch and not huge moss as such, I prefer doing a light dethatching. It is advisable to perform this during the spring. This helps the grass grow well. Ensure that you rake the lawn before the dryness of the summer sets in.
Heavy Scarifying
You can very well scarify the lawn heavily during autumn. When you intensely scarify the lawn, you expose the soil, and the grass hold is thin on the property. You are exposing the seedbed not only for the grass seeds but also to the weeds.
This is prone to happen if heavy scarifying is done in spring. So, inclining to carry out the task in September or October, you avoid the weeds largely.
Please remember, if you are planning to rake the lawn in autumn, do it before the frost sets.
While we say this, several factors favour the scarification to be done in April. One apparent problem with scarifying during autumn is that we tend to postpone it to autumn if the weather is terrible this season.
This will accumulate thatch and moss, making it difficult to remove them later. If there are areas in the lawn that are shady, prefer not to scarify it in autumn.
As you rake, the winter cold will not allow the grass to grow again in the shady areas devoid of proper sunlight. The same goes for the areas of the lawn under trees shade.
Look for an appropriate time in your location to scarify the lawn. Once a year is more than sufficient. There are types of properties that require only light scarifying too. Too much thatch removal is also harmful to the grass.
Fact: Thatch offers nutrients to the grass and protects the soil from excessive heat. It is indeed good, but too much of anything is harmful too.
Prepare Your Lawn For Scarification
The process of scarification begins 3 weeks in advance.
Step 1: Kill the weeds present in your lawn – This must be done three weeks earlier than the Scarification day.
Step 2: Begin to reduce the height of the grass – This must be done 2 weeks earlier, and continue reducing the size of the grass till the day before scarification.
Please be gentle and reduce the height of the grass gently. You must use a mower for this purpose and do not be hard on the lawn. You are planning to help it and not kill it.
Step 3: Use a moss killer – This must be done a week earlier, and do it only when the moss is present.
Continue to mow the lawn and reduce the height of the grass to 5 centimetres.
Step 4: Remove the moss from the lawn – This must be done one day before the actual scarification day.
Step By Step process of Scarification
Scarification is a delicate process, and you must reassess the work after every step. Do not overdo the task as it may harm the grass too. Scarification can be done in 4 stages. If you are doing it in April, 2 steps are more than sufficient.
However, if you perform it during the autumn, we recommend 3 to 4 stages, while more than four is always detrimental to the lawn. The number of stages is also dependent on the density and number of thatches around the yard.
Step 1: Use a Rake or a Powered Lawn Scarifier and go along the border of the lawn. Move in straight lines and complete all four sides.
Rake all the debris and dried grass. Gather it in an appropriate place near the lawn.
Step 2: Move along the lawn now. Ensure you take a 45-degree angle to the sides. This means to say you will go diagonal. Move in straight lines on the diagonals and collect the debris once again.
Assess the lawn and look for the thatches. If it remains, take the next step; otherwise, go to the Last Step in this column.
Step 3: Go over once again, move at a 45-degree angle to the previous step. Collect the debris
Assess the lawn once again, and by now, thatches would be removed.
Last Step: Move along the lawn with the scarifier. This time, you will cut an inch or even less into the soil. This will create the space for sowing new grass seeds.
Once scarification is completed, you must carry out two important tasks to develop a lush green lawn.
1. Overseeding
2. Fertilising
You need to sow the grass seeds on the lawn. This will prevent the weeds from growing on the property. Fertilising is essential to the lawn now. One of the reasons why thatch has formed is because of malnourishment of the soil.
You need to add the soil with
- Nitrogen for lush green grass to grow
- Phosphorus for healthy roots
- Potassium to fight diseases and protect the lawn from drought too
Do the last two tasks one by one, and you will see the grass growing quicker after scarification.
Benefits of Scarification
- Harmful thatches are removed
- Encourages grass growth by pruning the roots
- Allows air and water to reach the soil without any blockage
- Nutrients will reach the grass effectively
- Removes dead weeds in the process


